Custom Wire Harness A01RSFR16K203K
How to Design a Custom Wire Harness for A01RSFR16K203K Applications Designing a custom wire harness for A01RSFR16K203K applications can seem…
How to Design a Custom Wire Harness for A01RSFR16K203K Applications
Designing a custom wire harness for A01RSFR16K203K applications can seem like a daunting task, but it doesn’t have to be! With the right tools and a bit of know-how, you can create a wire harness that meets your exact needs. Here’s a step-by-step guide to help you get started.
Step 1: Gather Your Materials
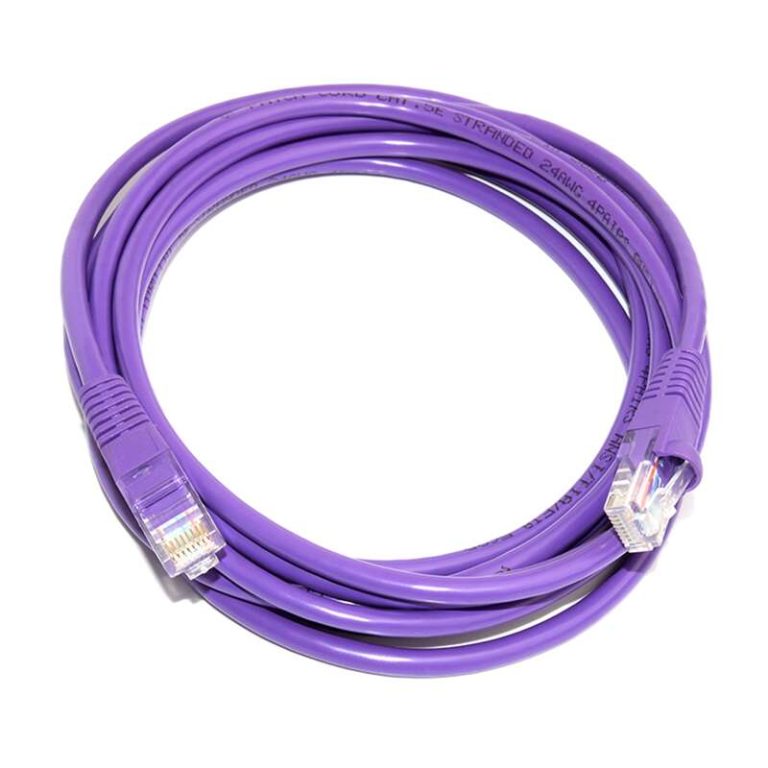
Before you start designing your custom wire harness, you’ll need to gather the necessary materials. This includes the wire, connectors, and any other components you’ll need to complete the job. Make sure you have enough of each item to complete the entire harness.
Step 2: Create a Design
Once you have all the materials you need, it’s time to create a design. Start by sketching out the layout of the harness on paper. This will help you visualize the finished product and make sure everything fits together properly.
Step 3: Cut and Strip the Wires
| 1993 Ford Probe 2.0 Factory Engine Wire Harness | Motorcycle Wiring Loom Manufacturers Uk | Coax Cable Assembly Manufacturer |
| Bespoke Cable Assemblies | Neutrik Speakon Nl4fc Connector Assembly | Neutrik Xlr Connector Assembly |
| Coax Cable Assembly Manufacturer | Oem Solar Cable Assembly Manufacturers | AMP Wire Harness |
| Custom Auto Wire Harness Connectors | Ls Custom Wire Harness | Wiring Harness Diagram Maker |
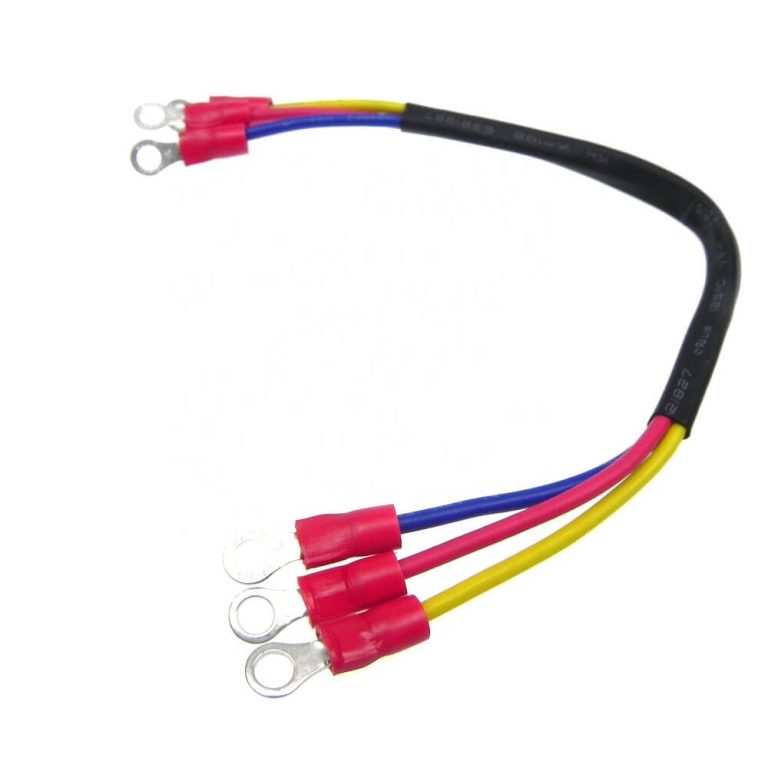
Once you have a design, it’s time to start cutting and stripping the wires. Make sure you measure the length of each wire accurately and cut it to size. Then, use a wire stripper to remove the insulation from the ends of the wires.
Step 4: Connect the Wires
Now that the wires are cut and stripped, it’s time to connect them. Depending on the type of connectors you’re using, you may need to crimp or solder the wires together. Make sure you follow the manufacturer’s instructions for the best results.
Step 5: Test the Harness
Once you’ve connected all the wires, it’s time to test the harness. Make sure all the connections are secure and that the harness works as expected. If everything looks good, you’re ready to install the harness in your A01RSFR16K203K application.
Designing a custom wire harness for A01RSFR16K203K applications doesn’t have to be complicated. With the right materials and a bit of know-how, you can create a harness that meets your exact needs. Just follow these steps and you’ll be well on your way to creating a custom wire harness that works perfectly for your application.